List View
List view displays all your events in a scrolling table format.
NOTE: Some images in our online documentation may appear outdated as BusyCal continues to evolve over time. However, the core functionality mentioned in the documentation still applies.

You can customize List view directly:
- To select which columns to display, Control-click the column header and choose column names from the contextual menu to select or deselect them.
- Move/resize columns by dragging the vertical divider line between column headers.
- Sort the list by clicking a column header. Click again to reverse the sort order.
List Settings
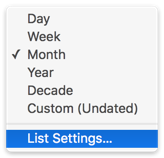
You can choose a date range (Day, Week, Month, Year, Decade, and Custom) from the pop-up menu in the upper-right corner, or choose List Settings to customize List view.

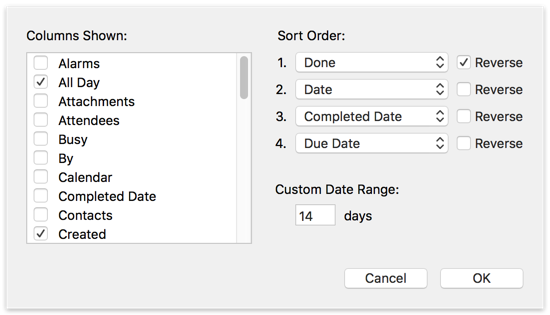
The List Settings dialog provides the following options:
Columns Shown — Check the columns you want to display in List view.
Tip: If you need to track billable hours, you can use the Duration column to display the duration of each event, and the Total Duration column to display a running total of all events currently being viewed. See Time Tracking for more info.
Sort Order — Use the pop-up menus to choose the primary, secondary, tertiary, and quaternary sort order. Select the Reverse checkbox to sort that column in reverse.
Custom Date Range — In addition to the built-in date ranges on the pop-up menu, you can specify a custom date range for x days.
Once you’ve modified the List view settings, you can create a smart filter to “Remember view settings & preferences” that enables you to redisplay the List view settings in the future by selecting the smart filter.